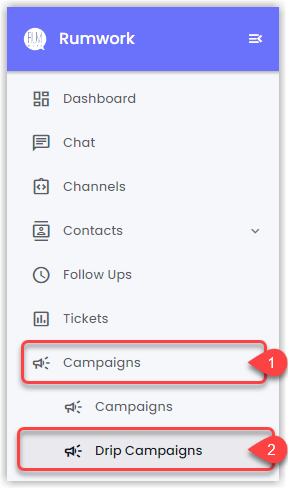
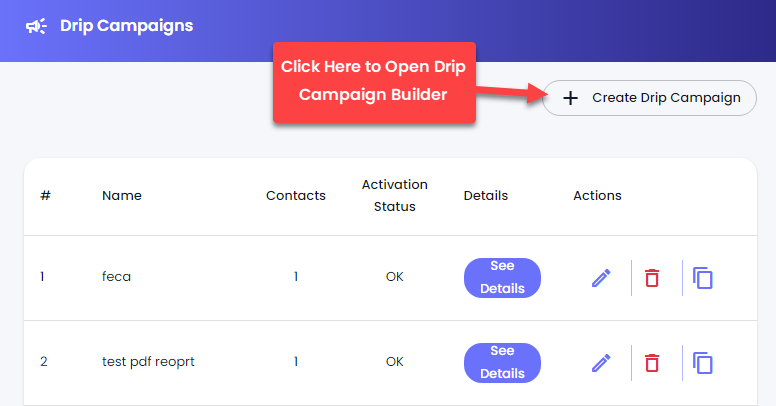
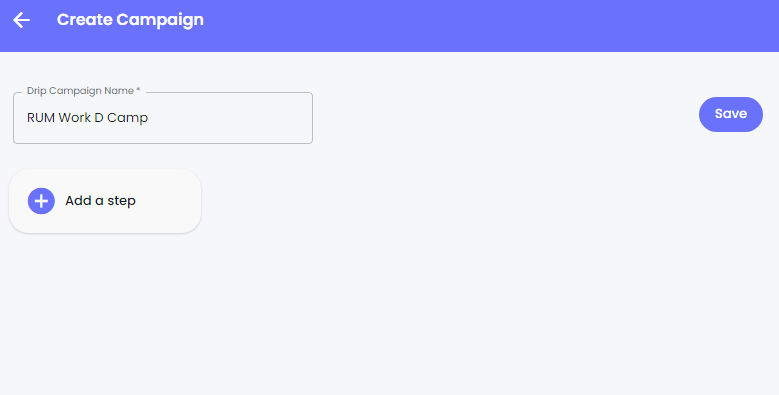
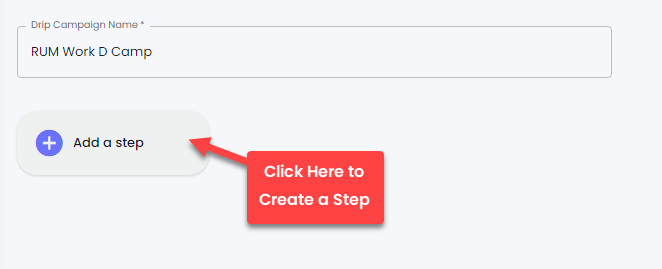
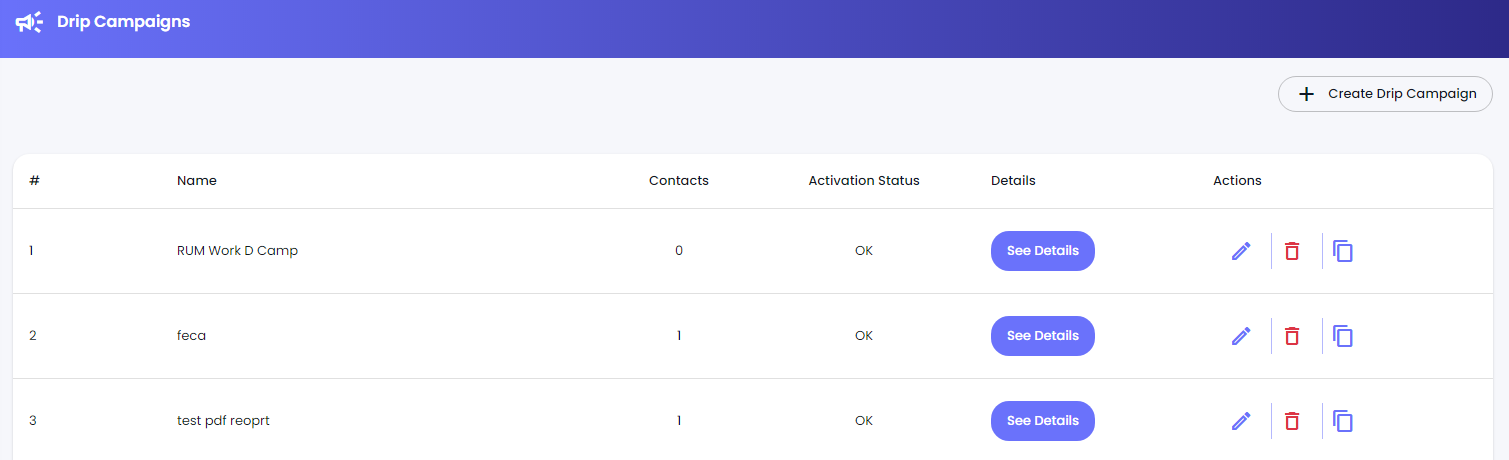
Accessing Drip Campaign Builder

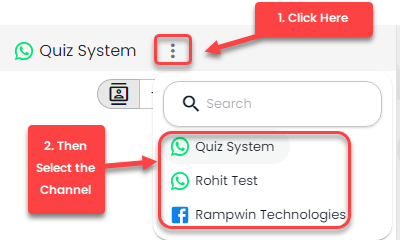
 Menu button next to the channel name and select the appropriate channel.
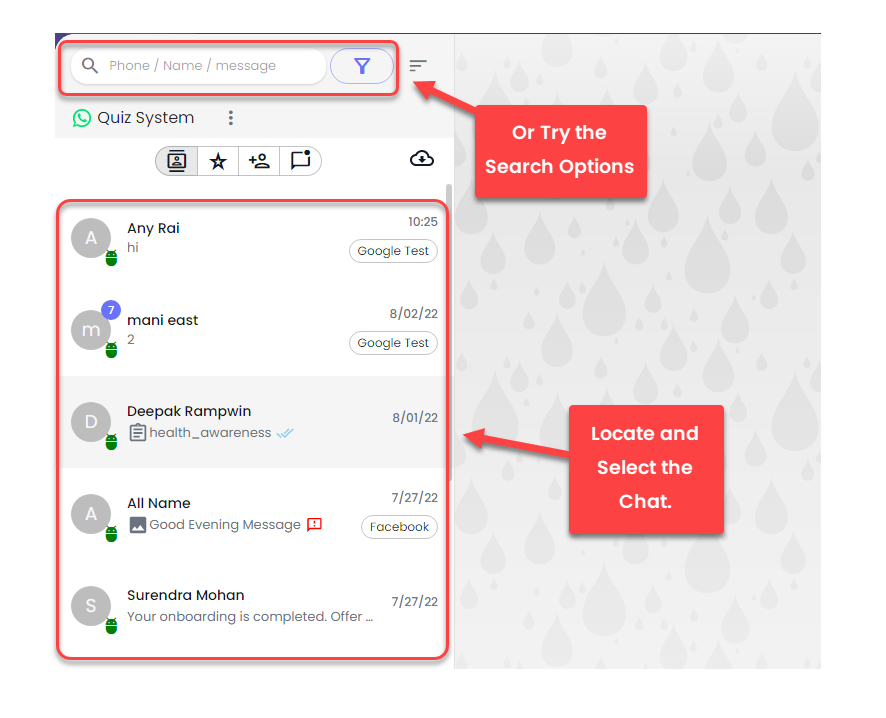 Options button in the top right corner.
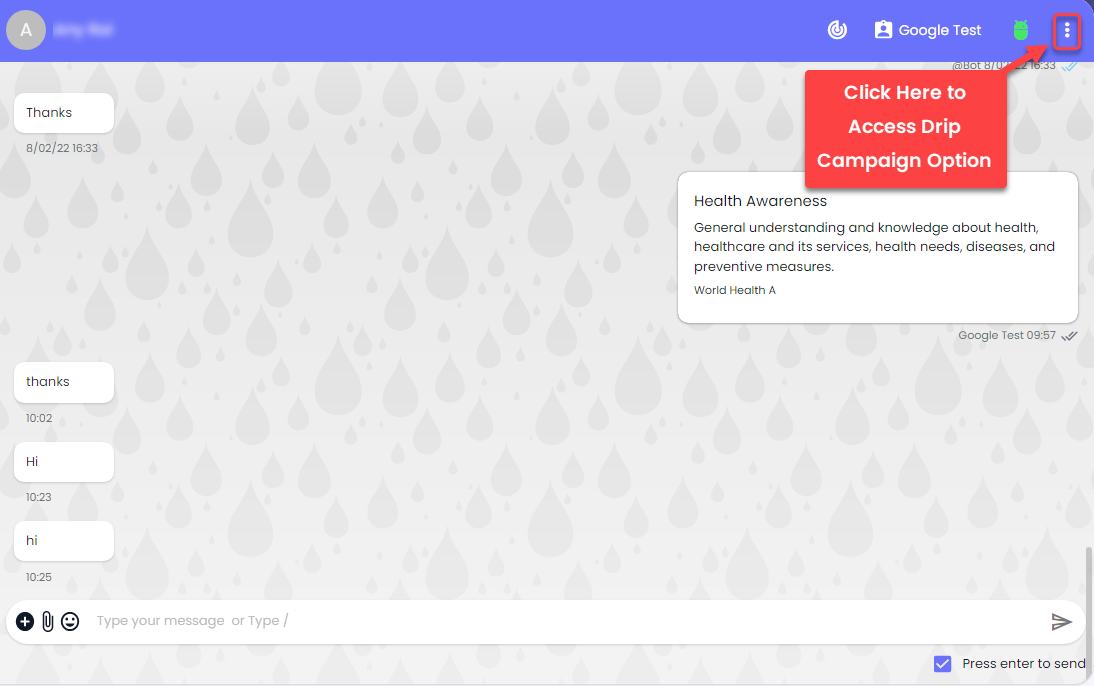
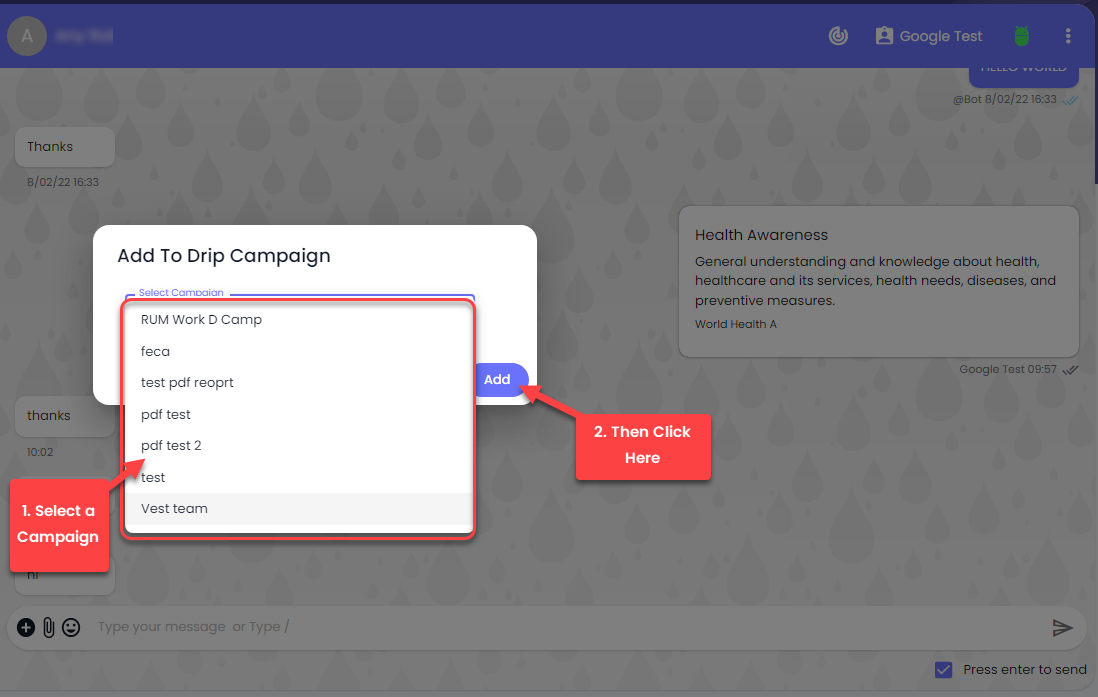
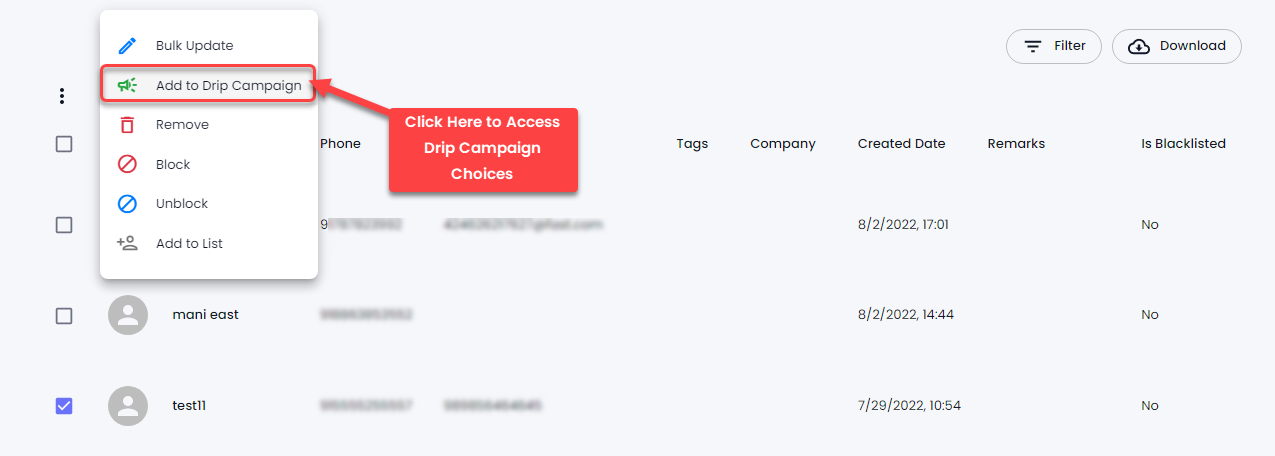
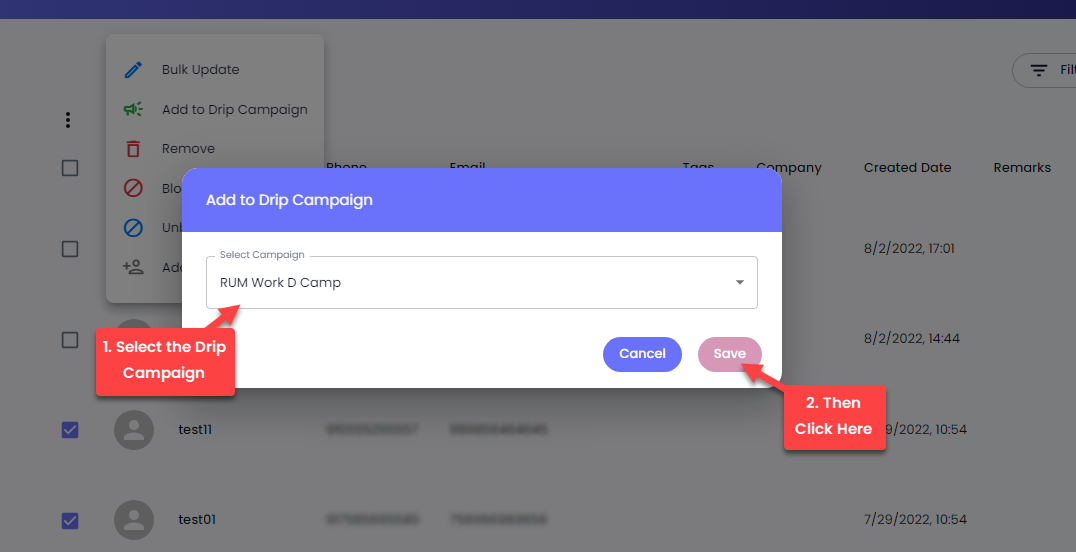
 Menu button next to bulk select, and then click **Add to Drip Campaign**.
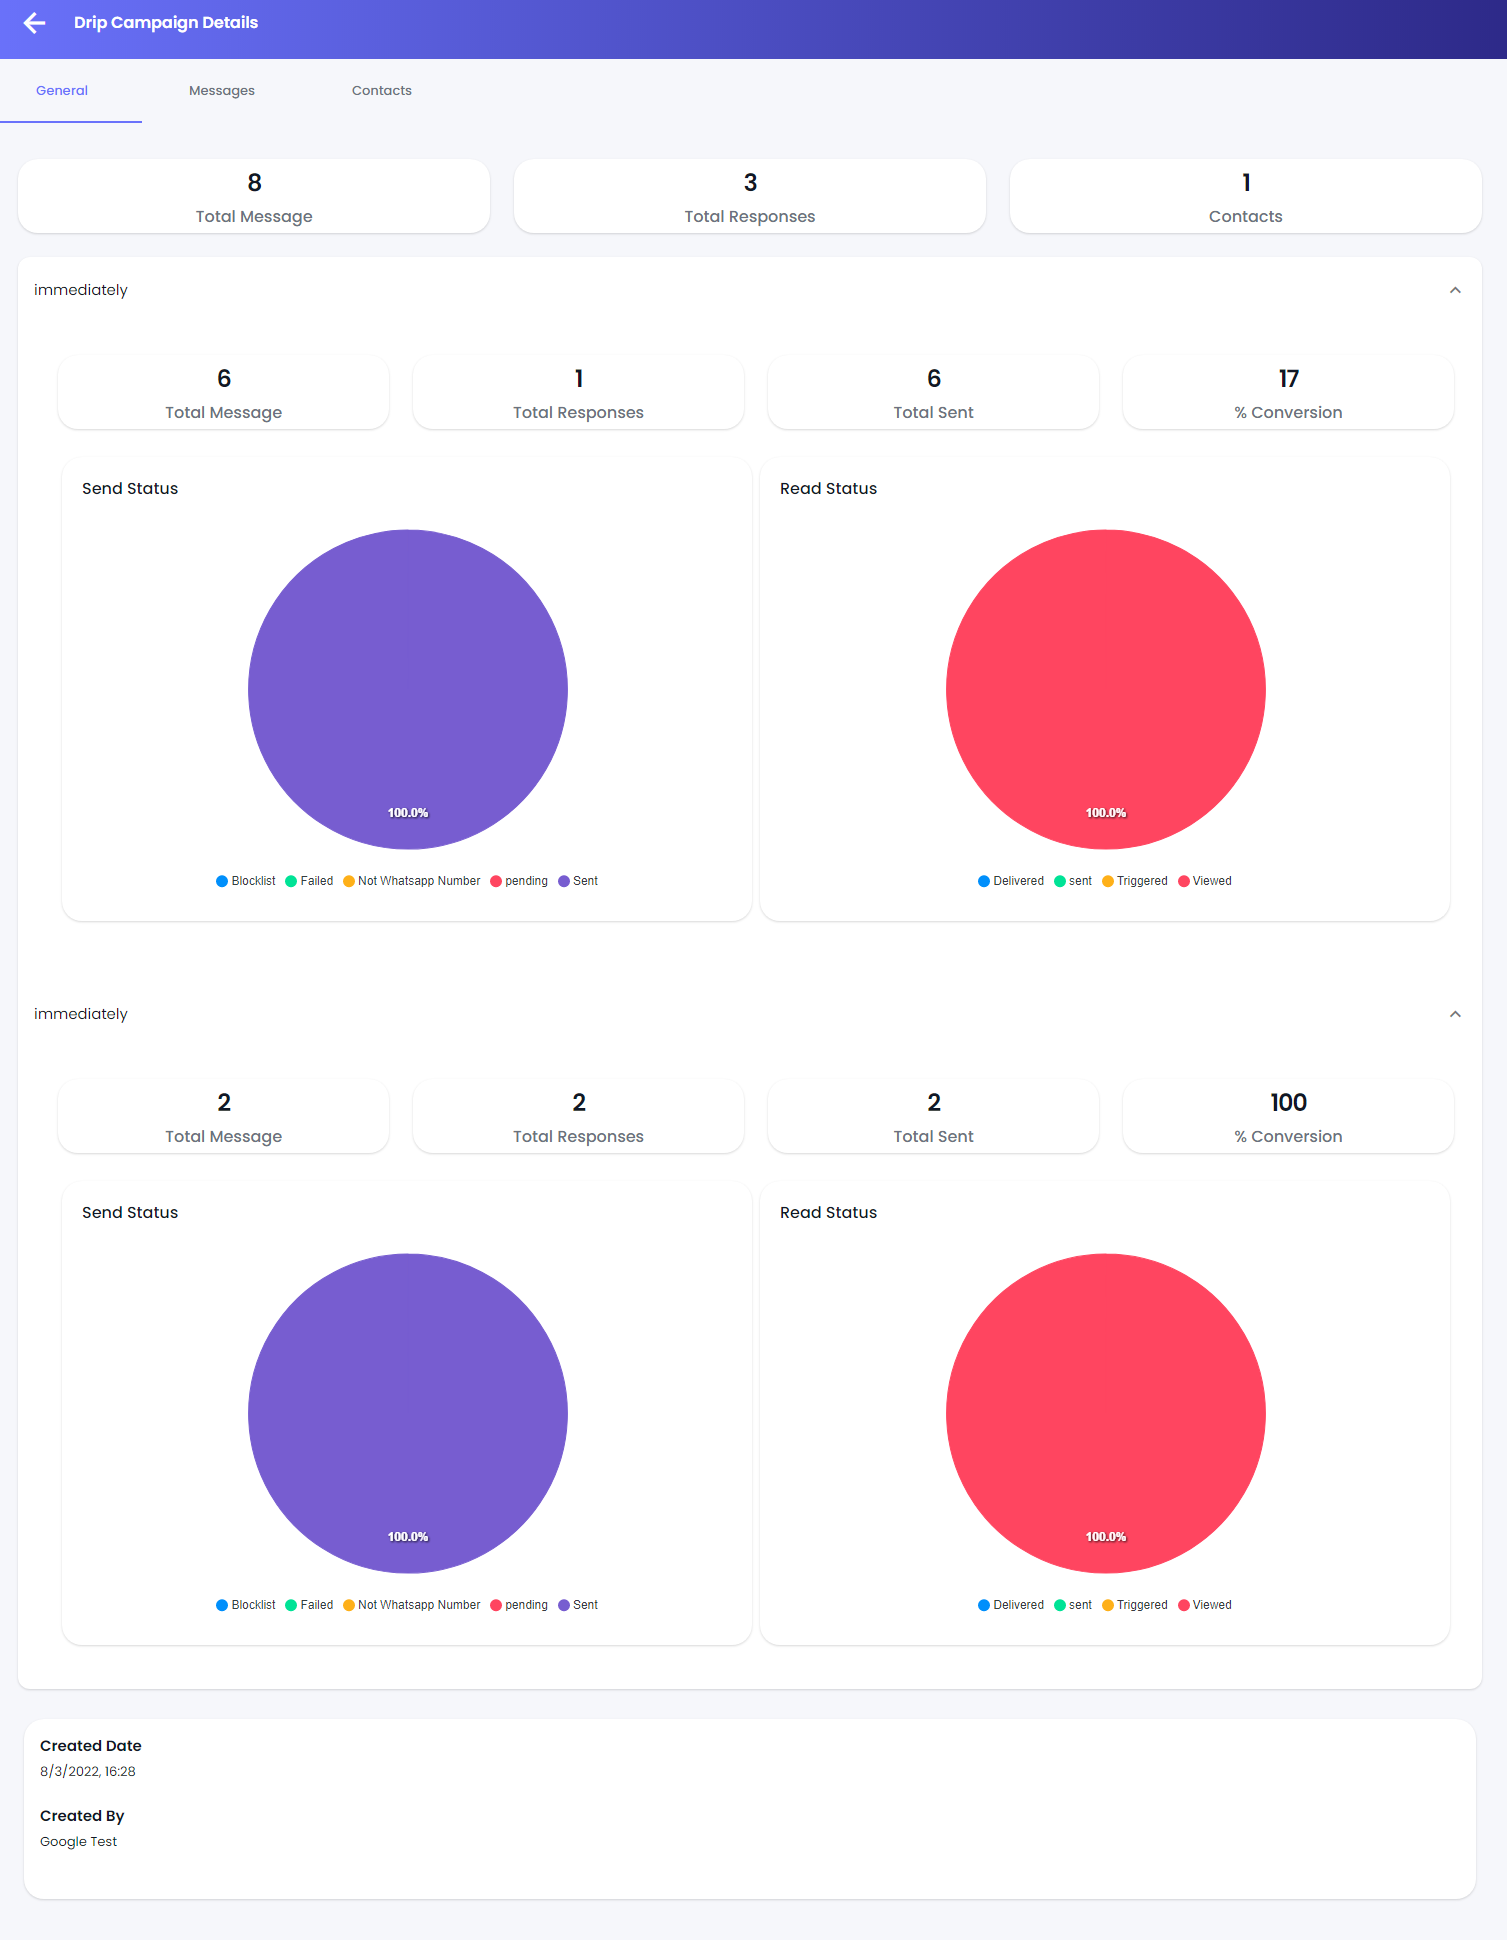
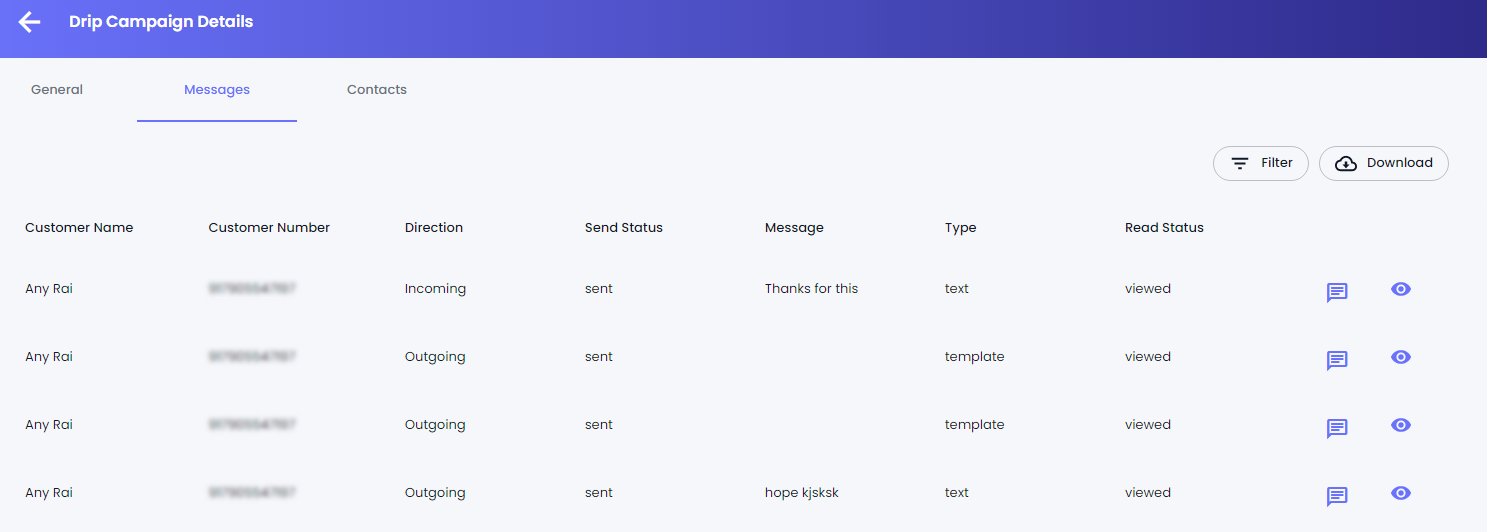
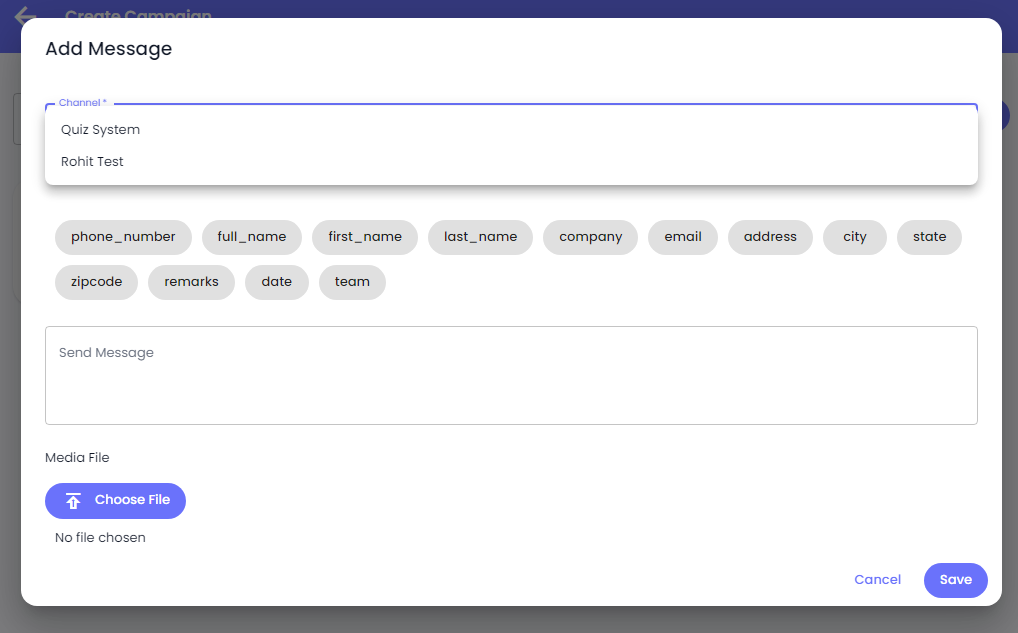
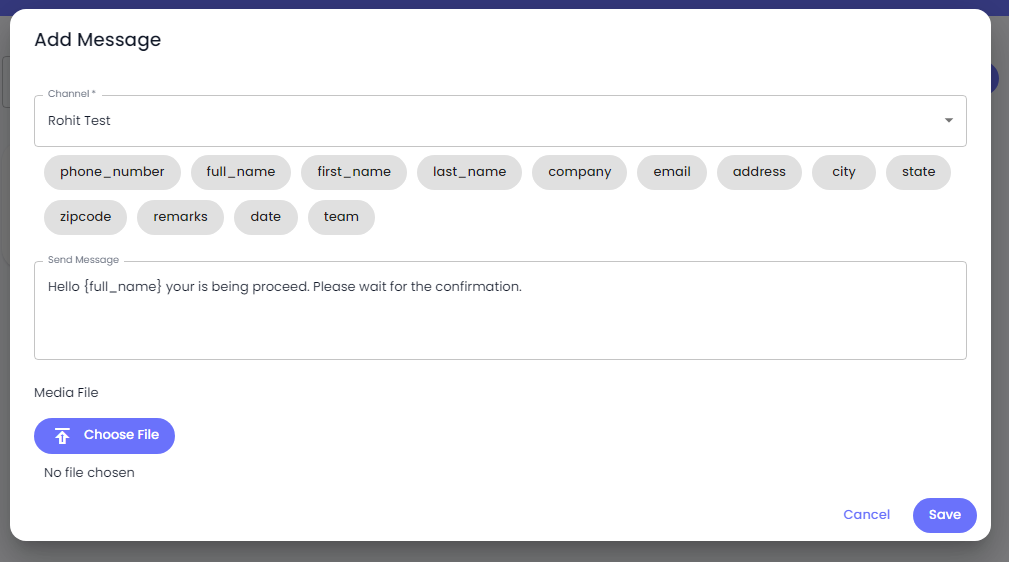
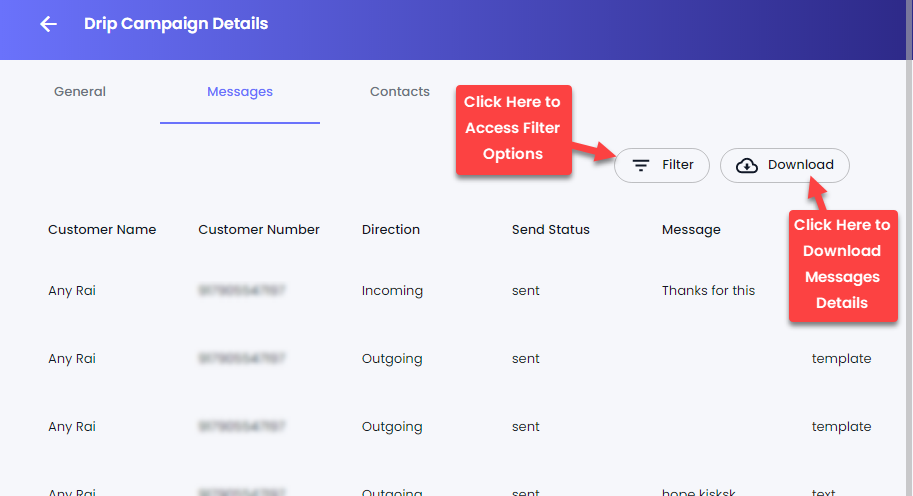
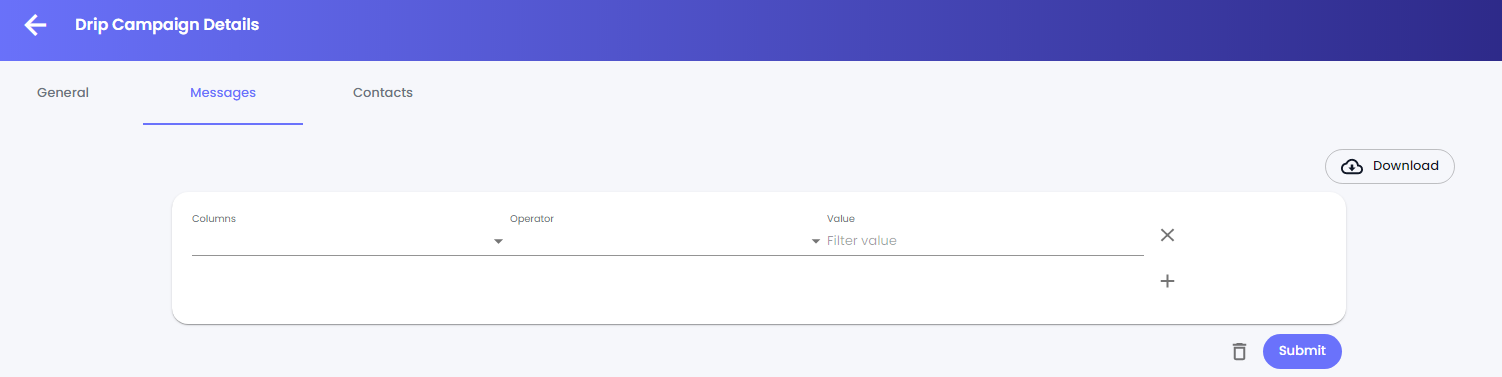
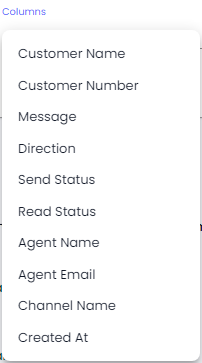
Message Details
 Chat button. Furthermore, view the complete detail of the message for each contact by clicking the
 View button.


 Trash button.
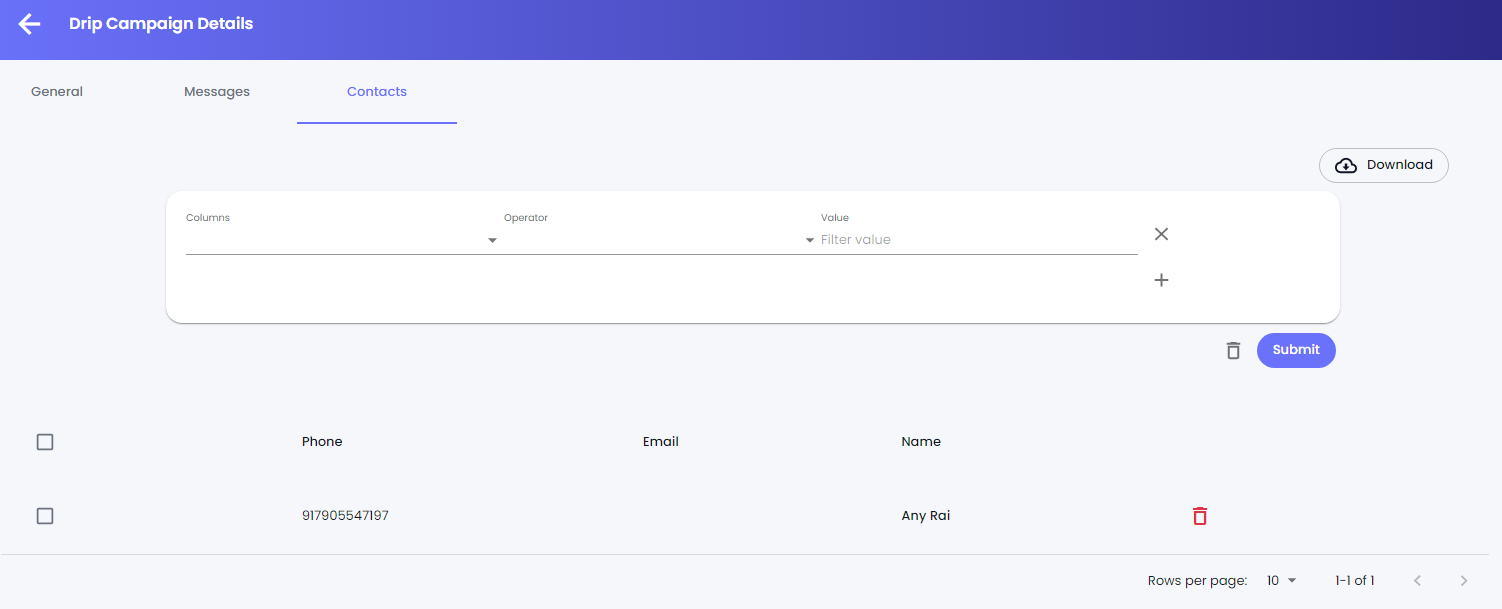
#### Contacts Detail
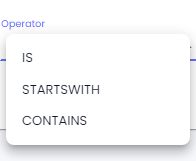
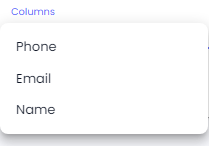
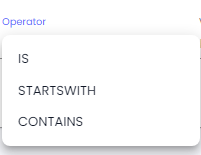
The Contacts detail window lets you view contacts added to the campaign. Plus, you can apply Filter, Download Contacts, or even remove a Contact(s) from the campaign.
Trash button.
#### Contacts Detail
The Contacts detail window lets you view contacts added to the campaign. Plus, you can apply Filter, Download Contacts, or even remove a Contact(s) from the campaign.
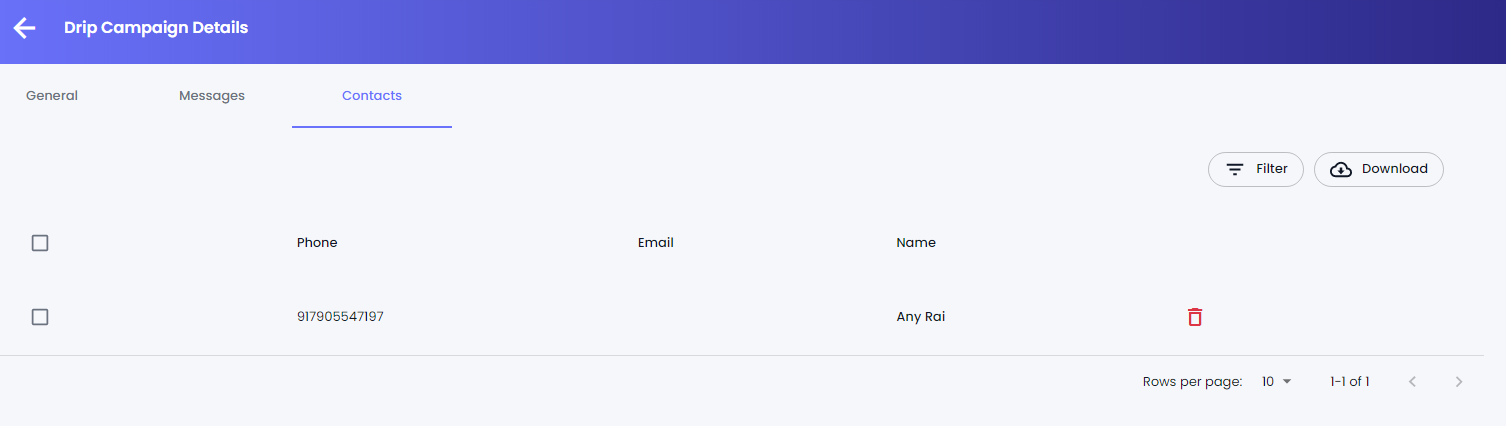
 Trash button.

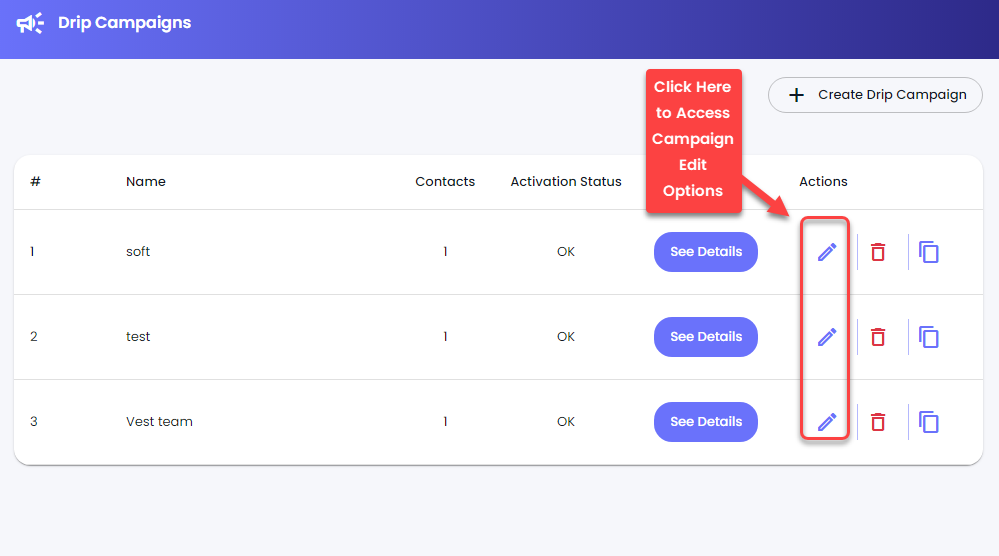
 Edit button under the Actions tab of the campaign.
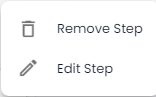
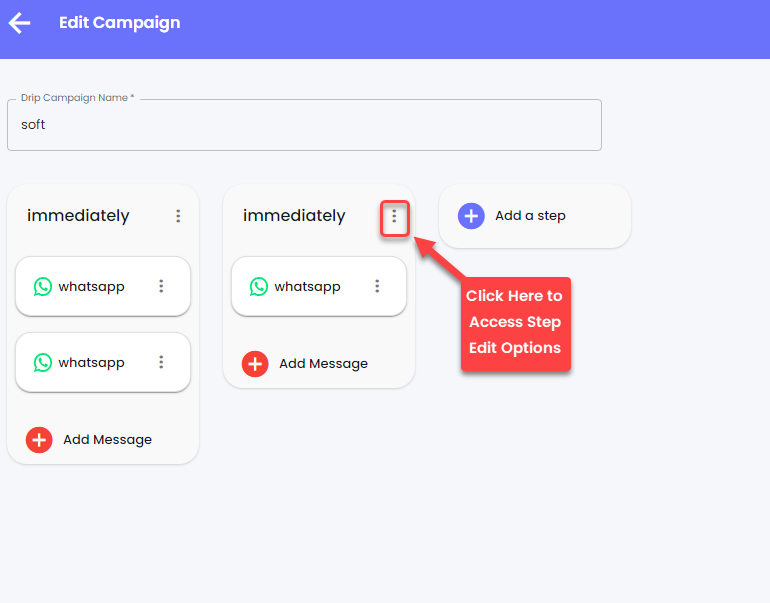 Options button. Then from the available options, either select
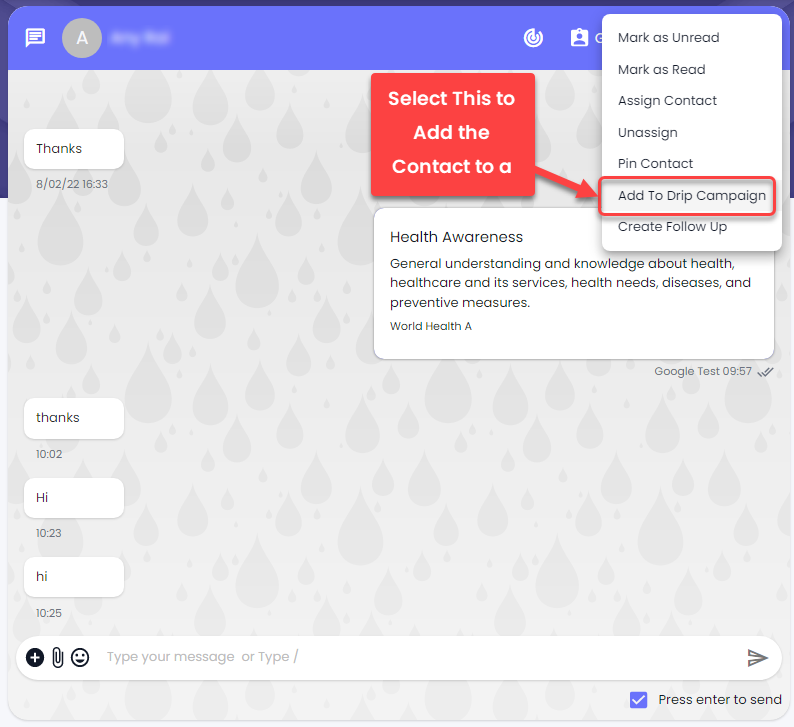
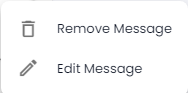
 Options button associated with the message. Then from the available options, either select
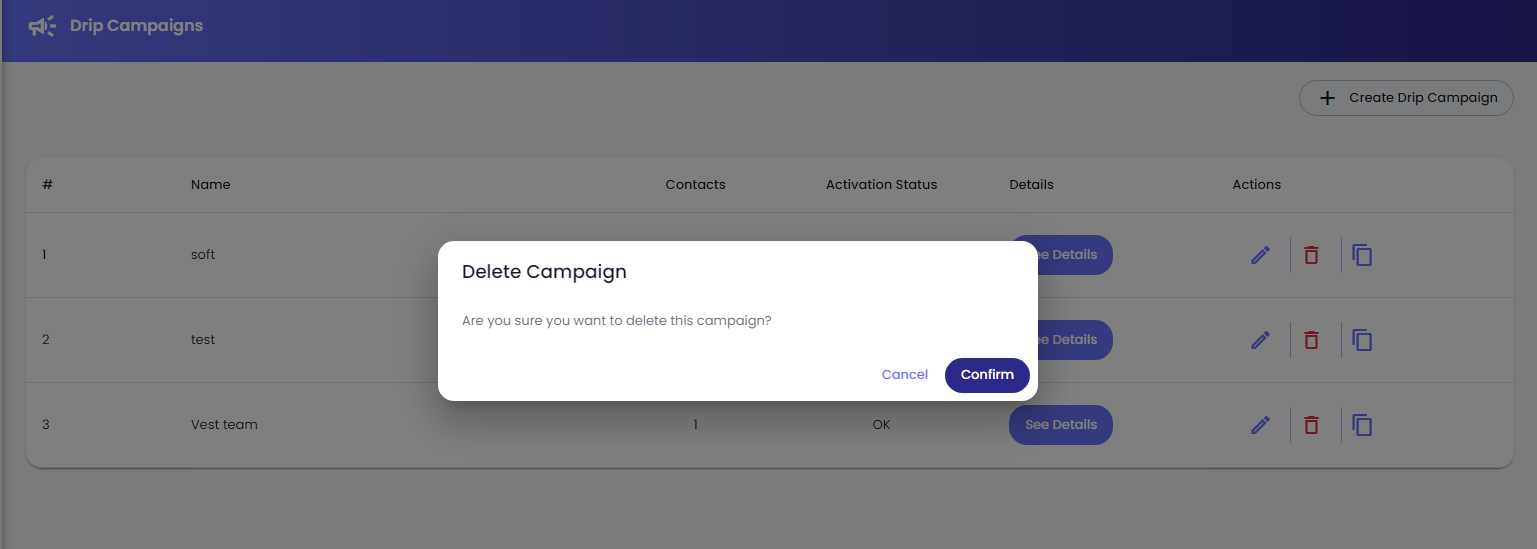
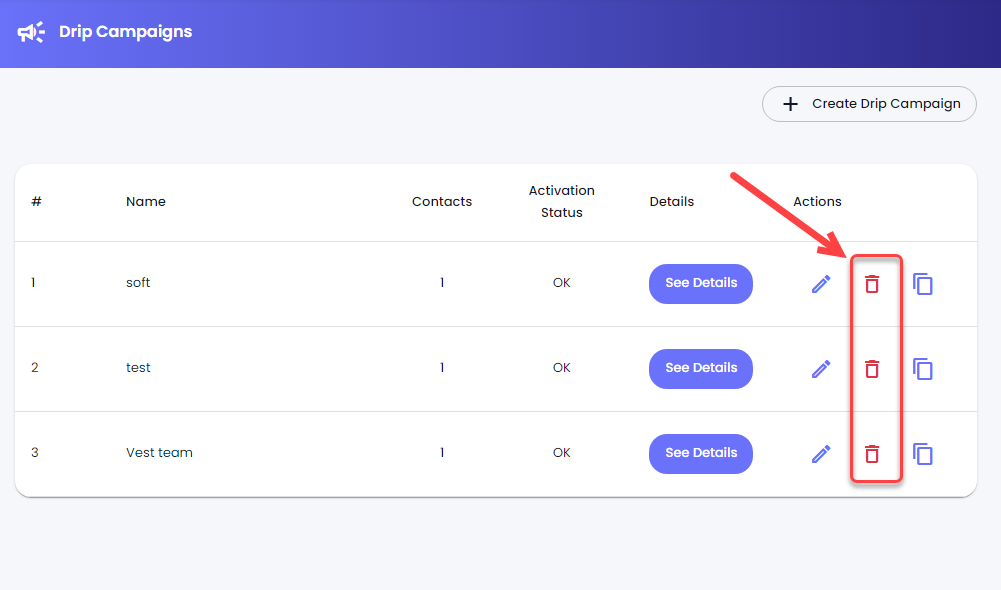 Trash button under Actions tab.
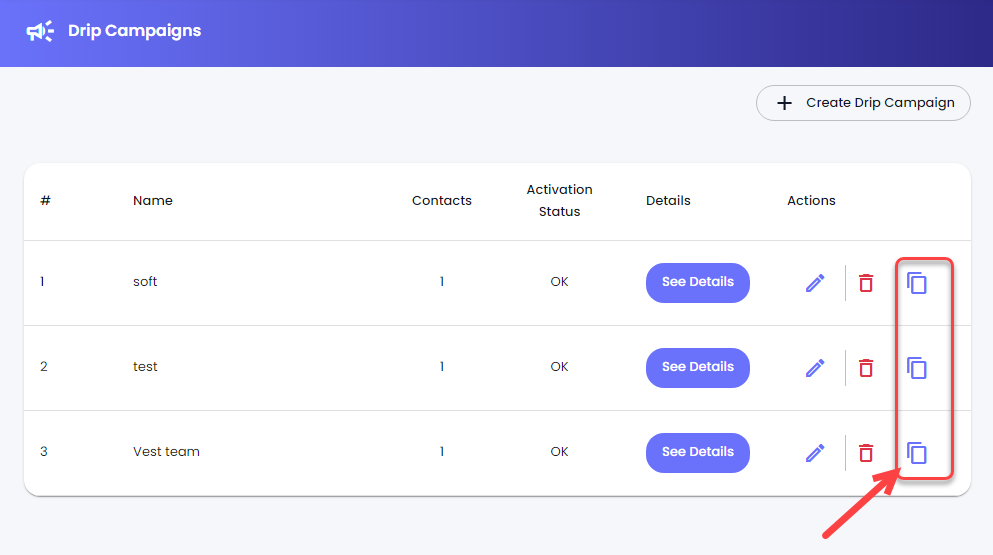
 Duplicate button.
