> For the complete documentation index, see [llms.txt](https://docs.rampwin.com/llms.txt). Markdown versions of documentation pages are available by appending `.md` to page URLs; this page is available as [Markdown](https://docs.rampwin.com/english/chat-more-options.md).
# Chat More Options
More options of the chat module lets you perform advanced actions to the chat. For instance, you can change Conversation Status; Message Read Status; assign Bot and more.
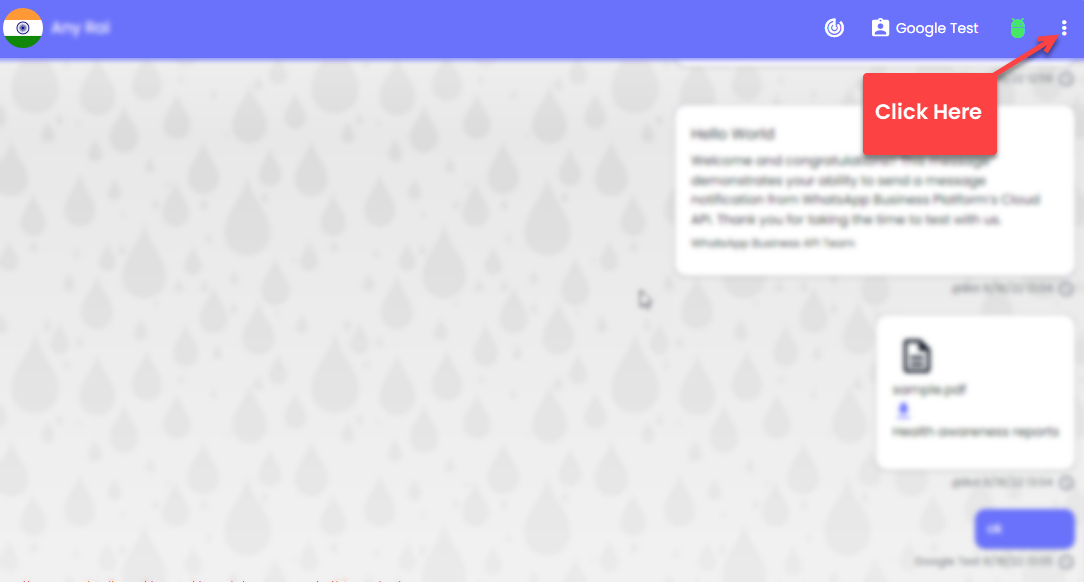
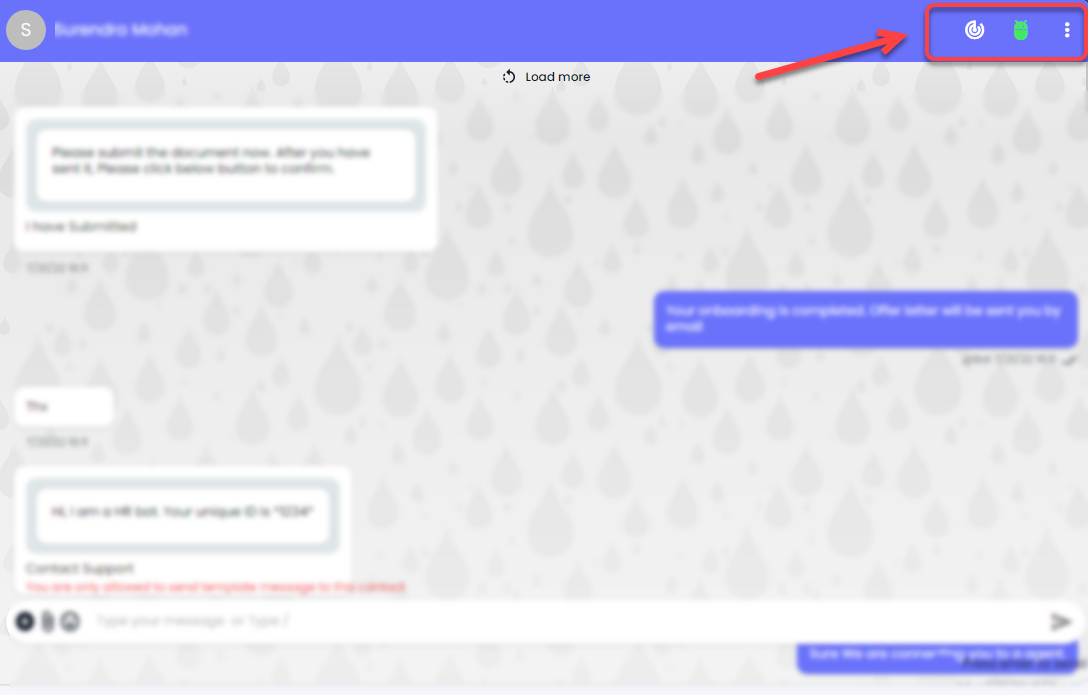
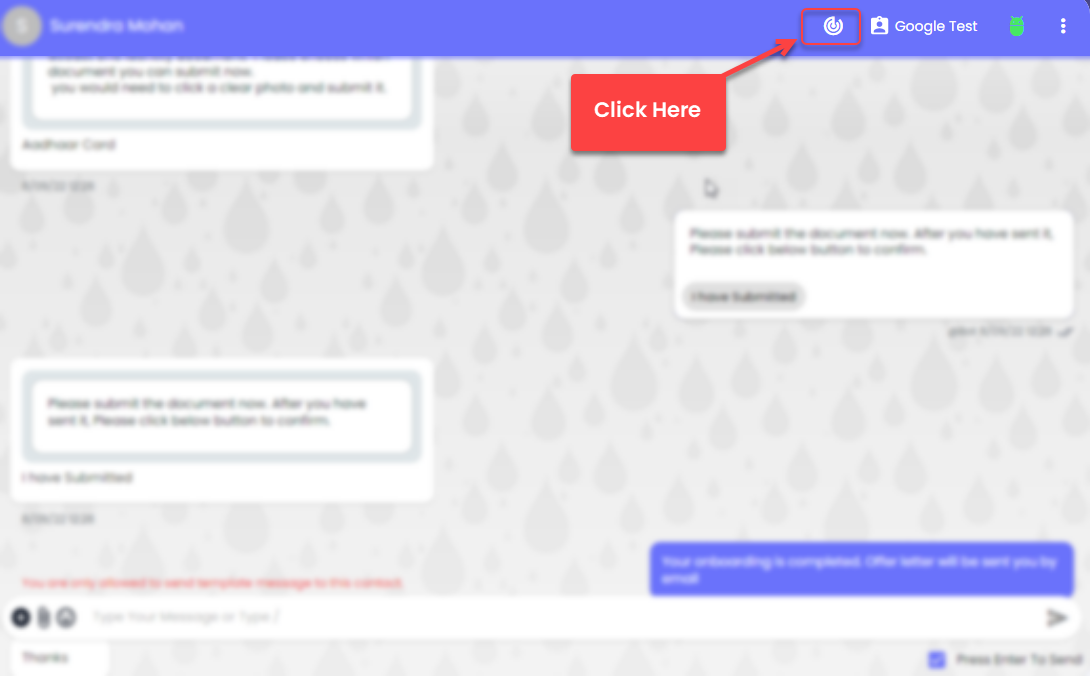
You can access more options in the top right corner of the module.
### Conversation Status
{% hint style="warning" %}
Only for Facebook and WhatsApp Official API Channels.
{% endhint %}
Through Conversation Status, you can set the chat to Open, Resolved, Closed, and Waiting For Customer or Agent Response.
To access the options, click on the Conversation Status Icon button.
Then, in the Conversation Status Popup, first, select Status, then add a comment, and click **Save** to apply changes.
### Enable/Disable Bot
{% hint style="warning" %}
Only for WhatsApp Official API Channels
{% endhint %}
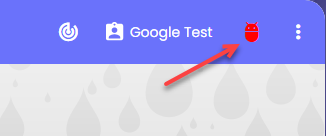
Click on the Bot Icon button to enable the bot.
Then click the **Confirm** button.
{% hint style="info" %}
Similarly, you can disable the bot by clicking the Bot Icon button again.
{% endhint %}
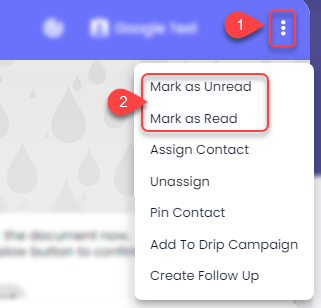
### Read Status
Go to theMenu option, then select either,
* **Mark as Unread**.
* Or **Mark as Read**.
### Assign to Agent
To assign the chat to yourself, click theMenu option, then select **Assign to Me**.
And you'd see your name next to the status. If you want to assign it to a team member, click on the name and then select a team member.
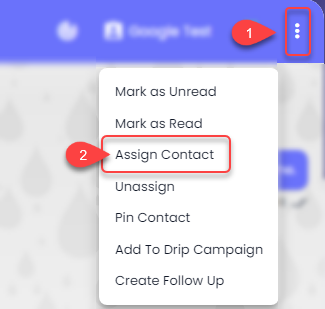
Or, click on the Menu option, and select **Assign Contact**.
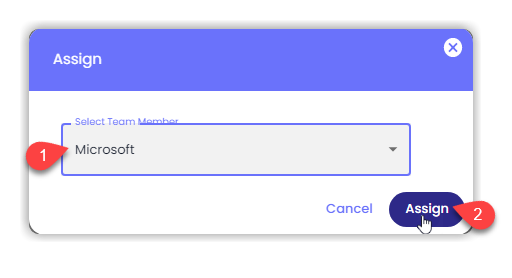
Then, select a Team Member and click **Assign**.
### Pin Contact
To make the contact a Starred Contact, go to theMenu option, and click **Pin Contact**.
Likewise, you can unpin the contact.
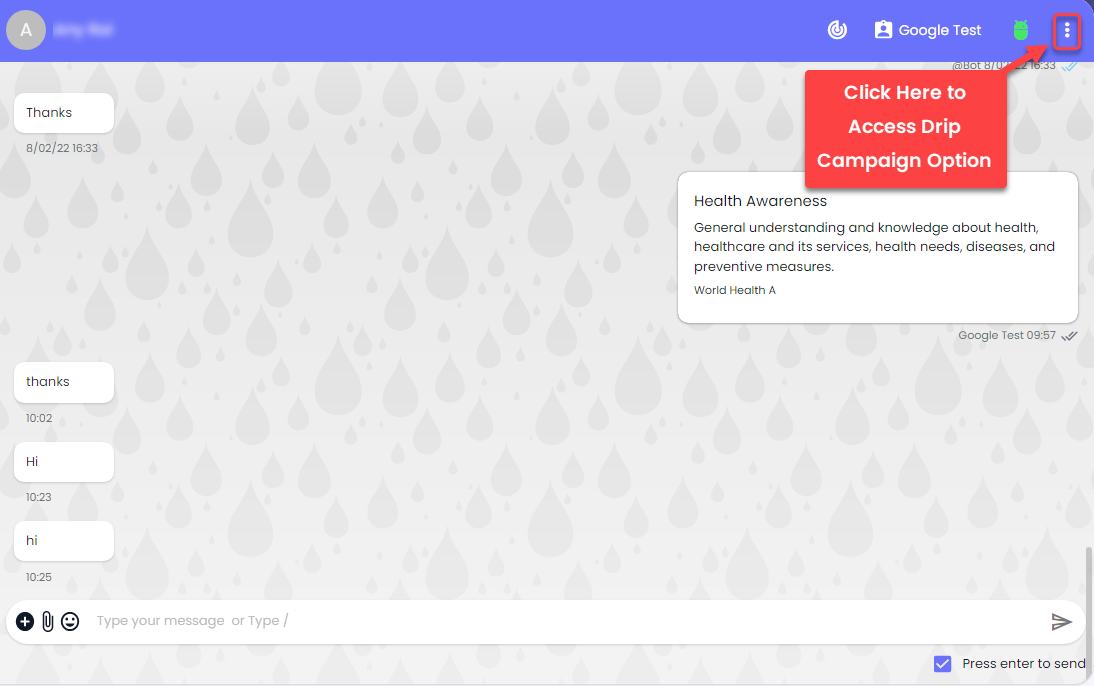
### Add to Drip Campaign
Click theMenu Option button in the top right corner.
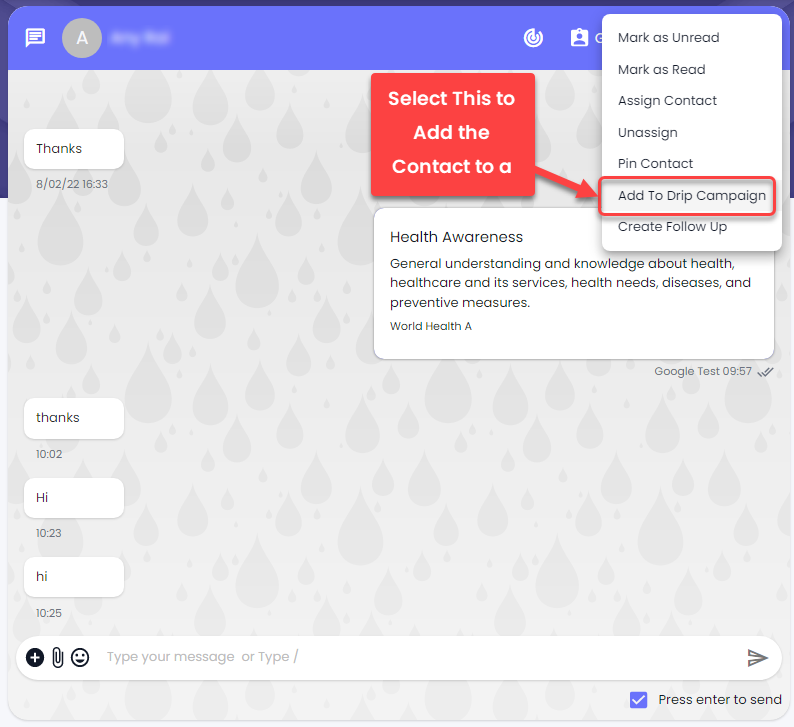
Then select **Add to Drip Campaign** from the available options.
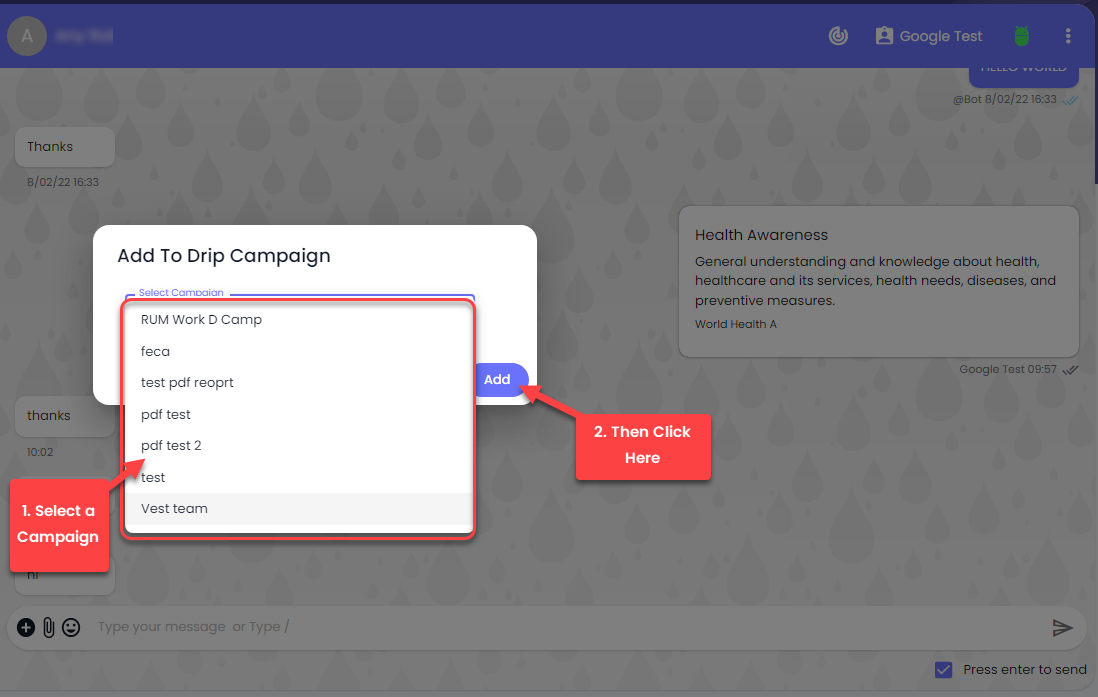
A modal will appear, in that select the campaign to which you want to assign that particular contact.
Once selected, click **Add**.
### Sync Messages
{% hint style="warning" %}
Only for Maytapi Unofficial WhatsApp API.
{% endhint %}
To synchronise messages of your WhatsApp to Maytapi Unofficial WhatsApp API, go to the Menu option, and click **Sync Messages**.
Then, click **Yes** to confirm.
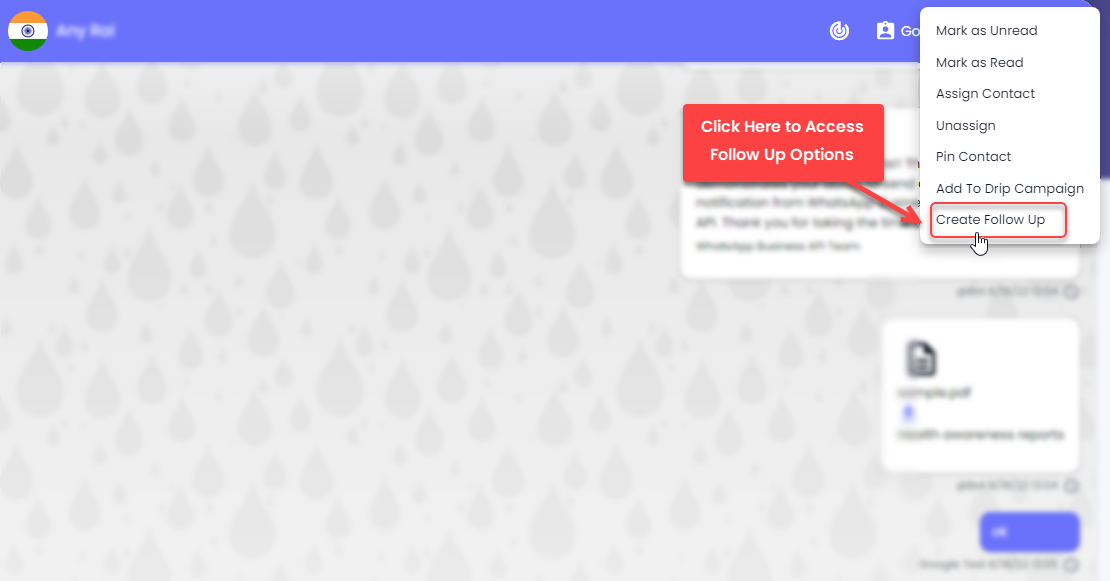
### Create Follow Up
Using Chat, you can create follow-ups for the particular contact. To do that, go to theMenu option, then click **Create Follow Up**.
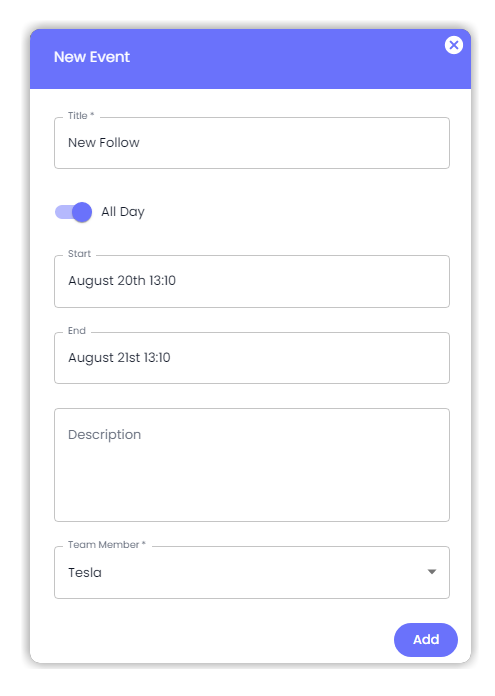
A New Event modal will open, here, set event Title, Occurrence (All Day or not), Start and End Date and Time, Description, and Team Member.
Once defined all the values, click **Add**. You can view the created follow-up in the [Follow Up](broken://pages/AcdHHRDe9O19CnOak63p) module.
### Reply to/Forward a Message
{% hint style="warning" %}
Only for Maytapi WhatsApp Unofficial API
{% endhint %}
You can also forward and reply to a message while conversing with your contact in Rampwin Chat.
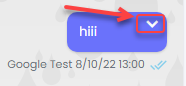
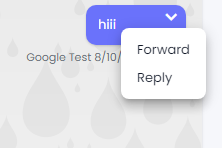
Go to the message and click on the **˅** Option Icon button.
Then, either select: **Reply** or **Foward**.
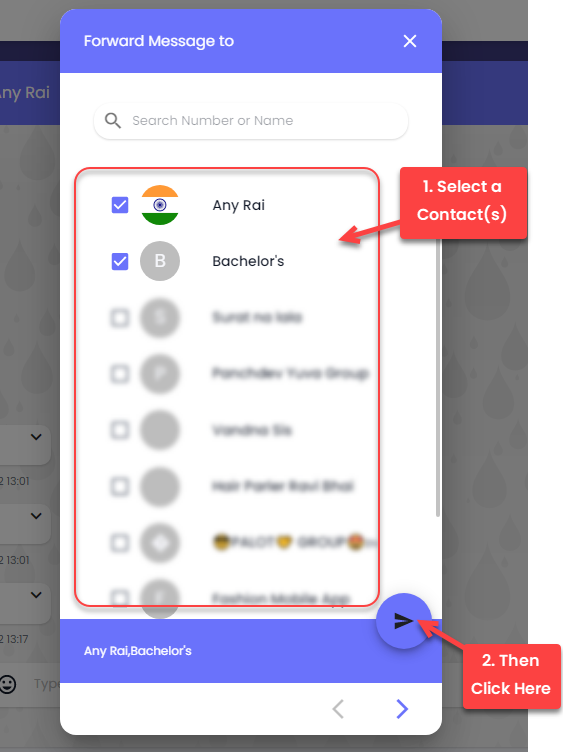
When you select Forward, select the contacts, then hit the Send Icon button
 Bot Icon button to enable the bot.
 Bot Icon button again.
{% endhint %}
### Read Status
Go to the
Bot Icon button again.
{% endhint %}
### Read Status
Go to the Menu option, then select either,
* **Mark as Unread**.
* Or **Mark as Read**.
Menu option, then select either,
* **Mark as Unread**.
* Or **Mark as Read**.